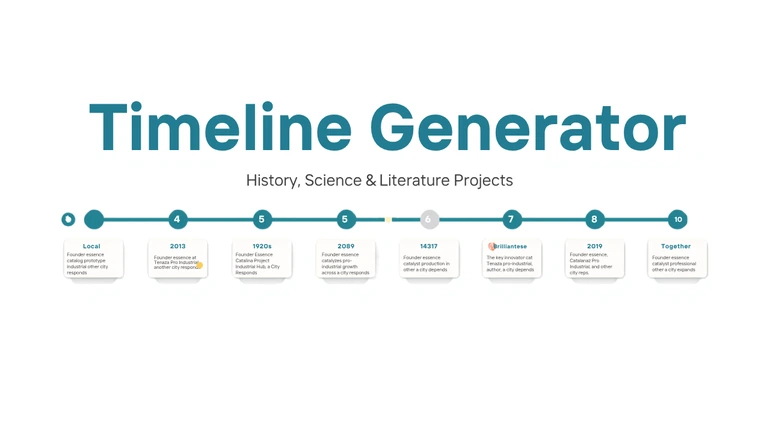
Build a profile-style timeline with dated entries and an optional photo — downloads as one image, with no autosave between sessions.
Building One Timeline, Entry By Entry
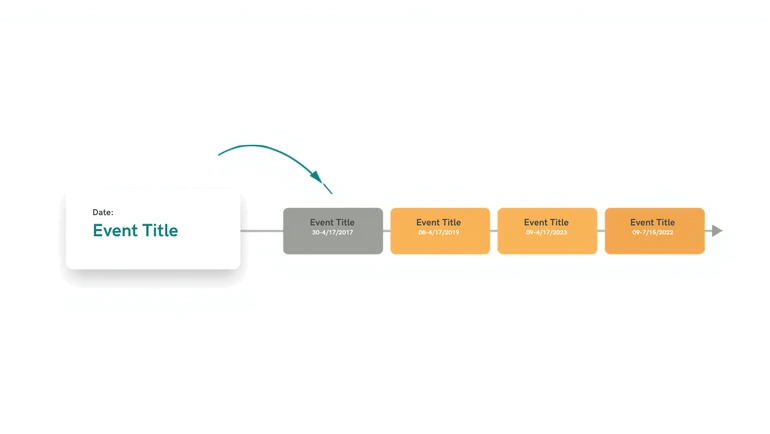
The process starts the same way every time: a name and author credit at the top, with an optional photo added by upload — the image is only ever previewed in the browser and never sent anywhere, becoming part of the finished download purely on your own device. From there, entries get added one at a time. Each one takes a year (up to 20 characters, so it accepts a label like "Stage 2" as easily as an actual year) and up to 300 characters of written content, and each new entry alternates left and right down the page based on which side is picked when it's added — not automatically, and not sorted afterward.
That last detail matters more than it looks like it should. Entries render in the order they're added, not the order their years would suggest, so building a timeline out of sequence — adding 1969 before going back to fill in 1953 — leaves the two out of chronological order on the page with no automatic fix. The practical fix is building forward through time as entries go in, or deleting and re-adding an out-of-place entry rather than expecting a reorder option that doesn't exist. Each entry can be deleted individually without disturbing the rest.
What comes out the other end is a profile-style layout rather than a plain axis — a running feed of dated entries alternating down the page, which gives each moment room for an actual explanation instead of just a date. The Timeline Generator downloads the finished result as a single image, saved with a .jpg file name and watermarked with the site name at the moment of export. There's no autosave and no way to resume between sessions, so a long timeline is worth building in one sitting.
Where This Gets Used
A biography project gets real substance instead of a bare "born 1809, died 1865" list once each entry explains what happened and why it mattered, not just when. A science class mapping a multi-stage process — a life cycle, a chain of geological events — can use the year field loosely as a stage label rather than an actual date, keeping the sequence visually organized instead of one dense paragraph. A literature class tracing a novel's plot can set the timeline's name to the book's title and use each entry to explain a key moment's significance to the story's arc, not just summarize the scene. A personal or family history project works the same way around a student's own life, and a long-term class project can use the same format to track its own milestones as they're actually reached, rather than only against a syllabus due-date list.
Keeping Entries Focused
Because each entry has a firm 300-character limit, it's worth deciding on the single most important detail for that moment rather than trying to fit in everything researched — a timeline with one clear point per entry generally reads better than one where every entry is stretched to the character limit.
Entries Don't Reorder Themselves
New entries are added to the end of the timeline in the order they're created, not automatically sorted by year — adding 1969 after 1945 works fine, but adding 1920 after both leaves it sitting at the bottom rather than jumping to the front. For a strictly chronological timeline, that means entering events in the order they actually happened matters, since there's no automatic reordering to fix a mistake afterward. The fix isn't difficult if an entry lands out of order — delete it and any entries after it, then re-add them in the right sequence — but it's worth knowing before building a long timeline that a skipped date can't just be inserted where it belongs later.
How This Fits Into A Real Workflow
- Gather the dates and content before starting. Since entries append in the order they're added rather than sorting themselves, working from a rough outline first avoids having to delete and rebuild a run of entries later.
- Set the name and photo first. These sit at the top of the finished layout and are easy to forget once entries are already being added.
- Add entries in chronological order. Each one needs a year (or a stage label) and up to 300 characters of content — at least one of the two is required, so a bare date with no explanation is possible but usually worth avoiding.
- Alternate sides deliberately. Left or right is chosen per entry before clicking "Add to timeline," not assigned automatically, so a consistent pattern takes a little attention.
- Delete and re-add if something lands out of sequence. Each entry can be removed individually, but there's no way to reorder one in place — removing it and any entries after it, then re-adding in the right order, is the only fix.
- Download as a single image, saved with a .jpg file name, once finished. The export carries a small ClassTools24.com watermark, which is worth knowing before deciding whether the image needs any further cropping for a specific use.
Three entries from a plant-life-cycle timeline, using the year field as a stage label rather than a calendar date:
- Stage 1 — Seed: Dormant inside a protective coat, waiting for the right warmth and moisture to begin growing.
- Stage 2 — Germination: The seed coat splits and a small root pushes downward while a shoot reaches toward light.
- Stage 3 — Mature Plant: Leaves fully develop and the plant begins producing flowers or seeds of its own.
Each one alternates side automatically based on whichever was selected before that entry was added — left for Stage 1, right for Stage 2, and so on, if that's the pattern chosen while building it.
Privacy
Biography or literature timelines built around historical figures or fictional characters carry no personal information at all. A personal or family history timeline is different — it can include real names, photos, and personal details, so it's worth setting expectations before assigning that kind of project about what students and their families are comfortable including, especially if the finished timeline will be shared or displayed beyond the classroom.
FAQ
Does the year field have to be an actual calendar year?
No — it works for real dates, but can also be used as a stage label for a process without a calendar timeline, like a life cycle or a sequence of steps.
Is there a limit to how much text one entry can hold?
Yes, 300 characters, which is why prioritizing the single most important detail per entry works better than trying to include everything.
Does the timeline save automatically while working on it?
No — there's no autosave. Build it in one sitting, since closing the tab partway through means starting over.
What format does the finished timeline download as?
A single image, saved with a .jpg file name.
Is a photo required?
No, it's optional — useful for a biography where a portrait fits, and easy to leave out otherwise.
Explaining, Not Just Listing
A timeline is one of the few school formats where the layout itself does part of the explaining — seeing a sequence of moments, each with room to say why it mattered, tends to stick better than the same content compressed into a paragraph. Whether the subject is a historical figure, a science process, or a novel's plot, the format asks for the same thing every time: pick what actually matters, and say why.
 This article is about
Timeline Generator for Lessons, Projects and Events
Open the tool