A practical workflow for resizing images before students add them to reports, worksheets, presentations, posters, and online submissions.
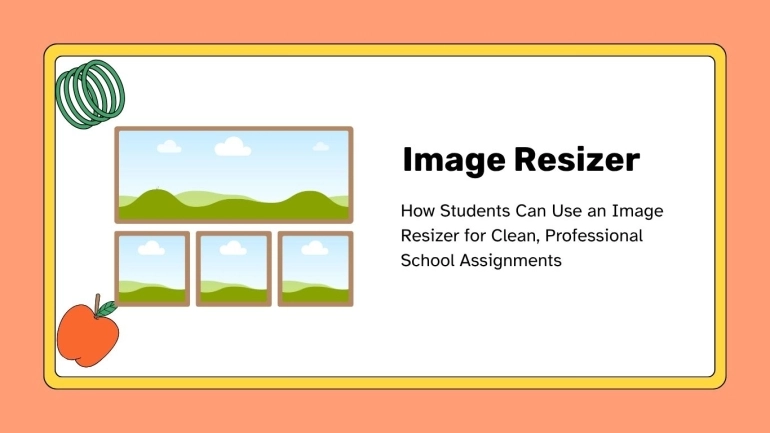
Image Resizer For School Assignments And Student Projects
Images can make school work easier to understand, but only when they fit the assignment properly. A diagram that is too large can push text out of place. A photo that is too small can look blurry when printed. A screenshot that is uploaded at full size may fail on a school portal or make a document slow to open. This is why an Image Resizer is useful for students. It helps prepare images before they are added to assignments, presentations, worksheets, project boards, or online forms.
This use case focuses on a common student workflow: choosing an image, resizing it for the task, checking that it still looks clear, and then using it in the final work. The goal is not to make students into designers. The goal is to help them avoid messy formatting, failed uploads, and unclear project visuals.
Why Image Resizing Matters For Students
Students often collect images from phones, screenshots, diagrams, scans, and online resources. These images do not always match the size needed for school work. A phone photo may be thousands of pixels wide. A screenshot may include extra empty space. A scanned diagram may be too large for a report. If the image is dropped into a document without resizing, the final assignment can look unbalanced.
Resizing helps students control how the image appears. It can make a project cleaner, reduce layout problems, and make online submission easier. This is especially important when the assignment has specific upload rules or when the teacher expects a neat document.
Use Case 1: Reports And Written Assignments
Many assignments include supporting images. A science report may include a diagram. A history assignment may include a map. A geography task may include a chart. An art reflection may include a photo of student work. In each case, the image should support the writing instead of overwhelming it.
Students can resize the image before placing it in the report. This helps the text and image sit together more neatly. It also reduces the chance that the document becomes too large to upload. If students need to submit several images as one file, they can resize the images first and then use the JPG to PDF Converter or PNG to PDF Converter to create a cleaner final document.
Use Case 2: Presentations And Slides
Images in presentations need to be clear enough for the audience to see. At the same time, they should not be so large that the presentation becomes heavy or difficult to share. A student preparing slides can resize images so they fit the layout before adding them.
This is useful for project presentations, class talks, group assignments, and portfolio slides. A resized image can make a slide look more intentional. It also prevents students from stretching images inside the slide editor, which often makes pictures look distorted.
Use Case 3: Posters And Project Boards
For posters and project boards, images need to be readable from a short distance. Students may use photos, charts, timelines, process diagrams, or screenshots. If the image is too small, viewers cannot understand it. If it is too large, it may take too much space and leave no room for explanation.
Resizing helps students plan the visual balance of the poster. They can prepare images at a size that supports the message. This makes the project easier to read and more professional when printed or displayed.
Use Case 4: Online Assignment Uploads
Many school platforms and forms have file limits. A student may complete the work correctly but still struggle to submit because an image file is too large. Resizing can reduce the dimensions before upload. If the file is still heavy, the student can use the Image Compressor after resizing.
This workflow is simple: resize first if the image dimensions are too large, compress next if the file size is still too heavy, and then upload the final version. This helps avoid last-minute submission problems.
Use Case 5: Worksheets And Classroom Activities
Students sometimes create worksheets, activity sheets, or peer-learning materials. They may include images, icons, diagrams, or examples. Resizing images before adding them to the sheet helps the content stay organized and readable.
This is also useful when students prepare activities for group work. A clear image can support discussion, while a badly sized image can distract from the task. Resizing gives students more control over the final layout.
Step-By-Step Student Workflow
- Choose the image that belongs in the assignment.
- Decide where the image will appear: report, slide, poster, form, or project board.
- Resize the image to fit that purpose.
- Preview the image and check that important details are still clear.
- Save the resized version with a clear file name.
- Add the resized image to the assignment or upload it to the school platform.
- Use compression or PDF conversion only if the task needs it.
Comparison: Original Image Vs Resized Image
| Need | Using Original Image | Using Resized Image |
|---|---|---|
| Written assignment | The image may take too much space or shift the layout. | The image fits better with paragraphs and headings. |
| Presentation | Large images may make slides heavy or distorted. | Images fit the slide more cleanly and load faster. |
| Online upload | The file may be too large for the platform. | The image is easier to upload and manage. |
| Poster project | The image may be too small, too large, or poorly placed. | The image size supports the visual layout. |
| Student organization | Files may be confusing and hard to reuse. | Resized copies can be named clearly for submission. |
Recommended Student Habits
Students should resize a copy of the image instead of replacing the original. This keeps the original available if the resized version is too small or needs to be adjusted again. A simple file name can also help, such as “biology-diagram-resized” or “history-map-small.” Clear file names reduce confusion when students upload assignments or combine several images into a final document.
Students should also check readability after resizing. If an image contains text, labels, numbers, or a chart, those details must still be visible. A smaller file is not helpful if the teacher cannot read the information inside it.
Quality, Privacy, And Responsible Use
Image quality matters, but privacy matters too. Students should avoid sharing images that include private information, faces, names, grades, or personal details unless the assignment requires it and the school rules allow it. If an image contains unnecessary background details, students may need to crop it before resizing. The Image Cropper can help with that step.
Students should also use images responsibly. If an assignment requires original work, the image should support their own thinking. If the image comes from a source, students should follow the teacher’s instructions for credit or citation.
How Teachers Can Support This Workflow
Teachers can help by giving students simple image expectations. For example, they can explain whether the image should be clear for printing, small enough for upload, or wide enough for a slide. If the assignment has file size or dimension limits, those should be stated before students begin.
A short note such as “resize large phone photos before uploading” can prevent many submission problems. Teachers can also link students to image tools as part of the assignment instructions so the support is available before students get stuck.
Frequently Asked Questions
Why should students resize images for assignments?
Resizing helps images fit better in reports, slides, posters, worksheets, and online submissions without making the work look messy or too large.
Can resizing help with upload problems?
Yes. If an image has very large dimensions, resizing it can make the file easier to upload. If the file is still too heavy, compression may also help.
Should students keep the original image?
Yes. It is better to resize a copy and keep the original file in case the image needs to be adjusted again.
Is resizing the same as cropping?
No. Resizing changes the image dimensions, while cropping removes unwanted parts of the image. Sometimes students may need both.
Can resized images be converted to PDF?
Yes. Students can resize images first and then convert JPG or PNG files into a PDF when the assignment needs one document.
Final Thought
An Image Resizer helps students prepare better-looking school work with fewer technical problems. When images fit properly, reports are easier to read, slides look cleaner, posters feel more organized, and online submissions are less likely to fail. It is a small step, but it can make student projects look much more complete and professional.